
Crack or Hole in Your Wall? DIY or Call a Pro
A nail hole, a long crack, and a water-softened section of drywall may all look like “wall damage,” but they do not call for the same repair. Size is a useful first filter, followed by location, moisture, movement, and what caused the damage. A small stable defect can be a satisfying DIY fix. A larger opening, recurring crack, ceiling defect, or damage close to electrical components carries more risk and is harder to blend invisibly. This guide gives you a practical framework for deciding which path makes sense. It does not diagnose structural movement or hidden moisture; when those signs appear, the right first step is assessment rather than patching.
The Quick Answer — Size Is Your First Clue
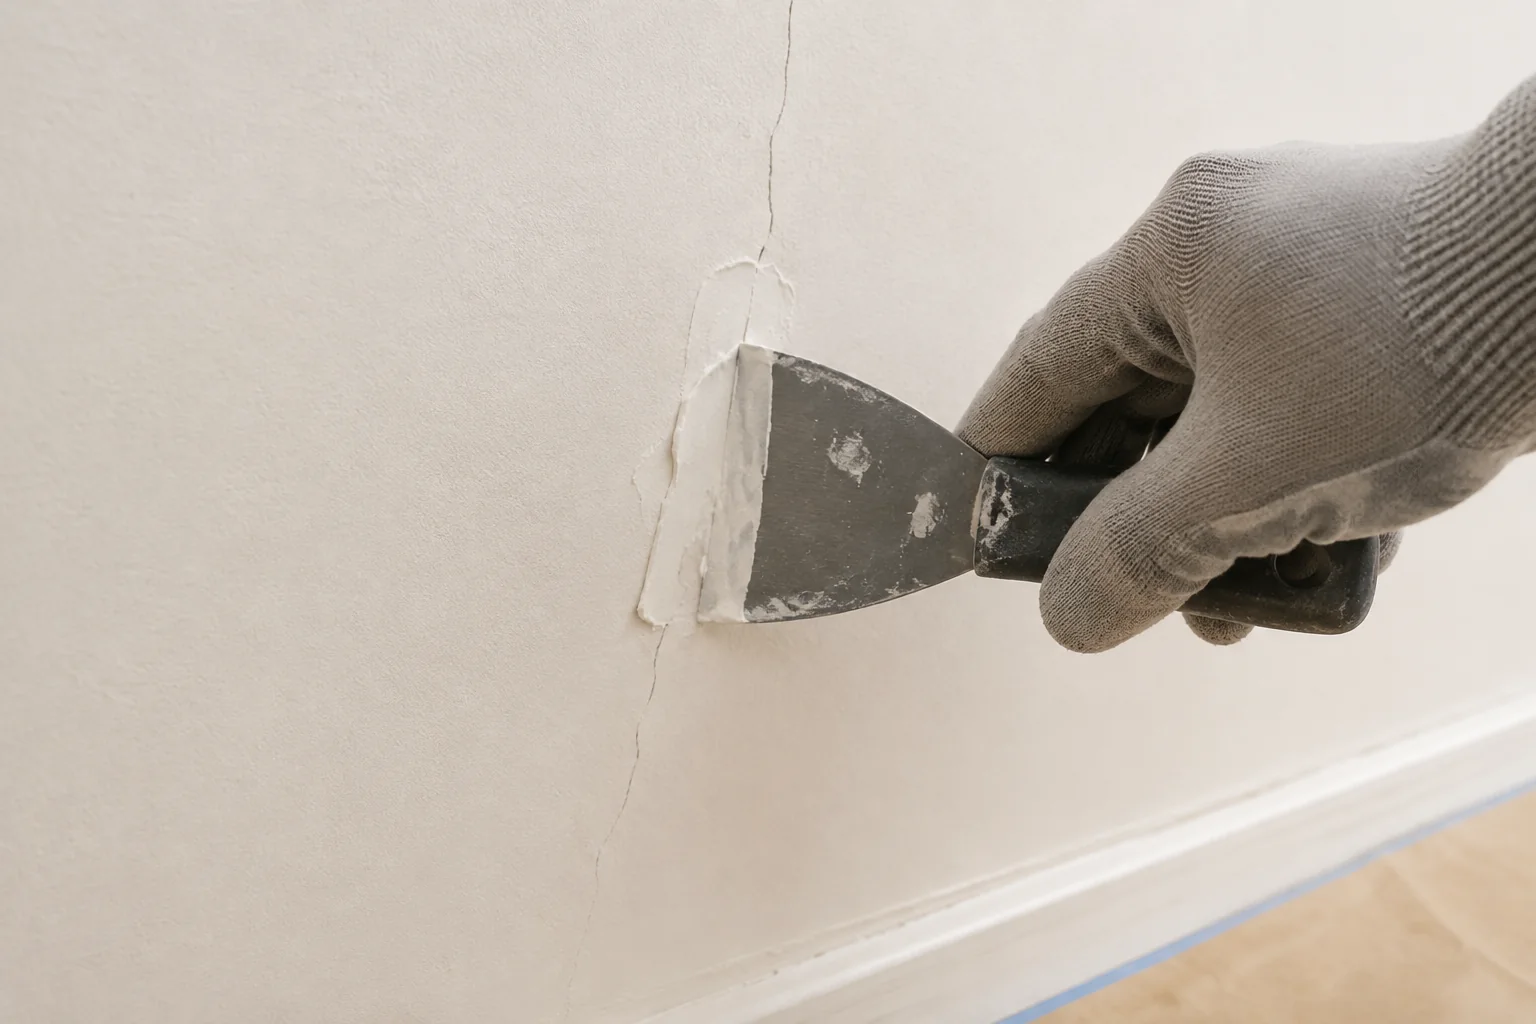
Small damage such as nail holes, shallow dents, and stable hairline cracks under about 1/8 inch is commonly suitable for careful DIY repair. The area is limited, ordinary patching tools are enough, and the main challenge is sanding and matching the finish.
Medium damage, roughly one to four feet in overall affected area, may be technically possible for an experienced homeowner but becomes time-consuming. It can require backing, tape, several compound coats, wider feathering, texture work, primer, and repainting beyond the patch.
Large damage of four feet or more, openings that expose utilities, soft or wet drywall, widespread ceiling damage, or cracks with structural warning signs should be evaluated professionally. The visible size is only one clue. A small stain caused by an active leak is more urgent than a large but stable surface scuff.
Signs It's a Safe DIY Repair
A DIY repair is most reasonable when the damage is dry, stable, shallow, and isolated. Typical examples include picture-hook holes, small anchor holes, minor dents, a tiny corner-bead nick, or a hairline crack that has not changed. You should be able to see and understand the full damaged area, with no electrical box, plumbing, recurring stain, musty odour, soft material, or spreading crack nearby.
The finish also affects difficulty. A smooth wall is easier to feather and sand than heavy texture. Matching an existing orange-peel, knockdown, or other texture can turn a small patch into a visible trial-and-error job. If the wall colour and sheen have faded, the repair may need the whole wall repainted from corner to corner.
Basic DIY Repair Steps for Small Damage
- Clean and stabilize the area. Remove dust and loose paper or paint without enlarging the defect unnecessarily. If the area is damp or stained, stop and find the moisture source before continuing.
- Apply the correct compound or patch. Small nail holes may need only patching compound. Open cracks may require a suitable tape and joint compound system. Follow the product directions and use thin layers rather than one heavy fill.
- Let it dry and sand carefully. Drying time depends on the material, depth, temperature, and humidity. Sand the repair level with the surrounding surface, using side light to check ridges and edges. Protect the room from dust.
- Prime the repaired area. Bare compound and torn drywall paper absorb paint differently. A compatible primer seals the patch and reduces visible flashing.
- Paint for a consistent finish. Use the same colour, product, sheen, and application method when possible. If the touch-up remains visible, paint the wall from edge to edge rather than adding more small patches of colour.
Signs You Should Call a Professional
Arrange professional help when drywall is soft, wet, sagging, or repeatedly stained; when there is a mold-like smell; when cracks return after patching; when several cracks are spreading; or when a hole is larger than about four inches and needs backing or board replacement. Damage near electrical components or plumbing should not be opened casually. Multiple defects across a room may also justify a broader assessment because patch-by-patch DIY work can leave an uneven finish.
Professional repair is also useful when the final blend matters. Wide feathering, texture matching, ceiling work, and repainting under strong side light require control beyond simply filling the opening. Review our drywall painting and repair services when surface correction needs to connect with the finish coat.
Consider the wall construction as well as the opening. A hole between studs may need backing so the patch cannot flex. Damage crossing a taped joint may require the failed tape to be removed and reset. A dent in corner bead can affect a long vertical edge, so filling only the impact point may leave the corner visibly bent. When several conditions overlap, a professional can define the repair boundary before compound is applied.
Structural Warning Signs
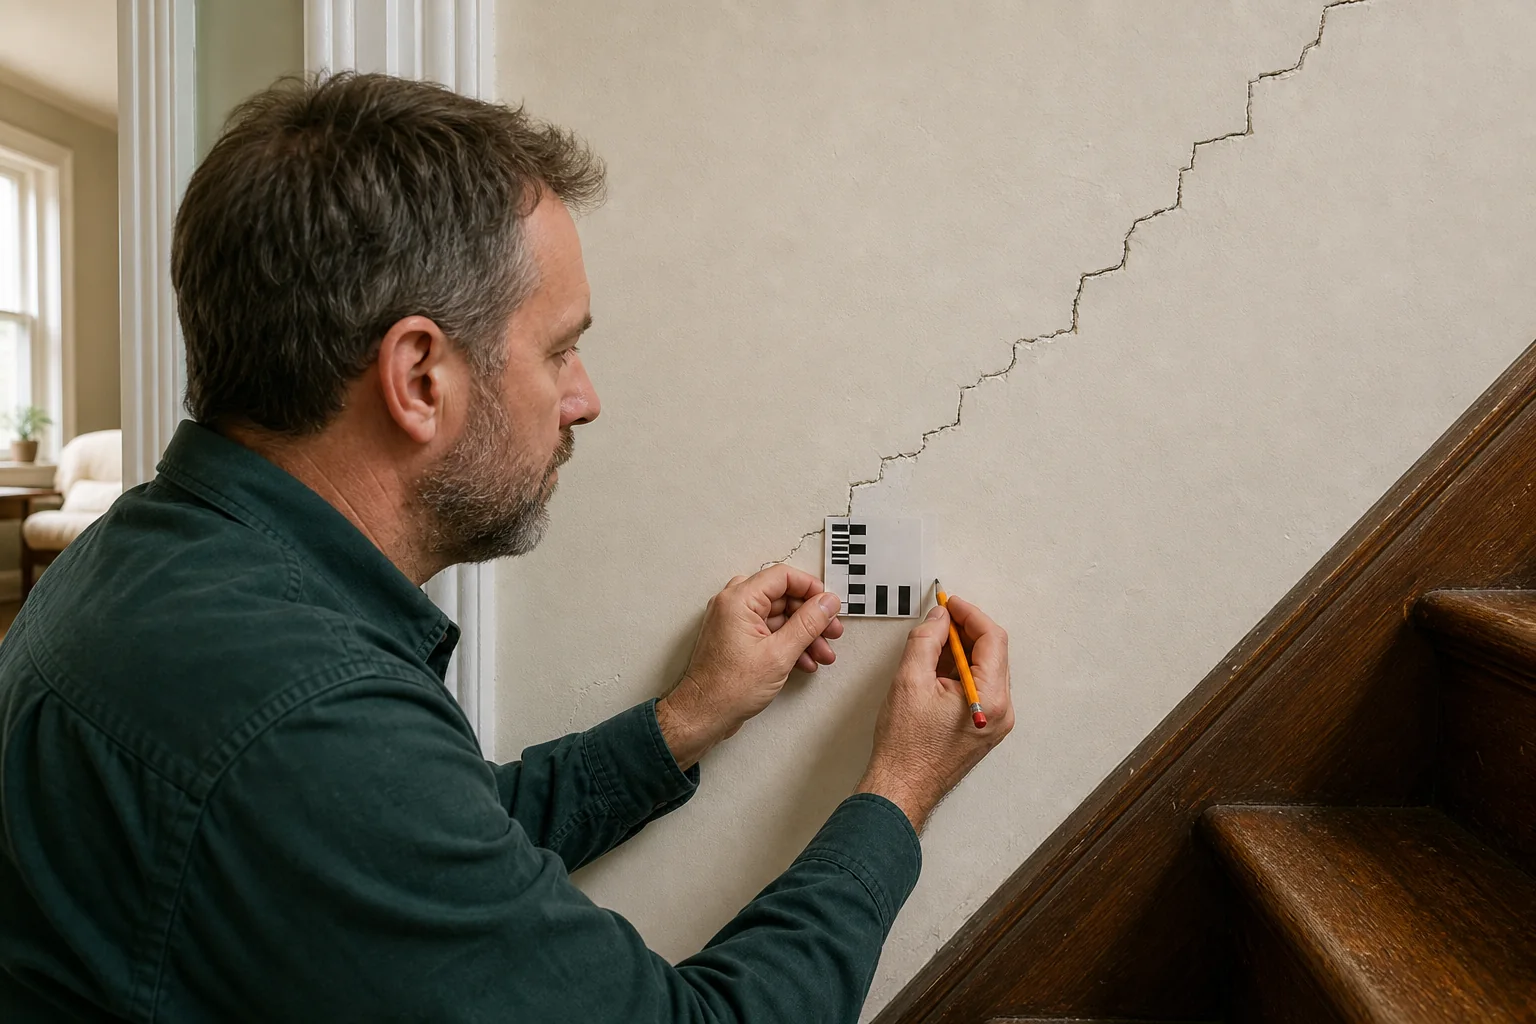
Some cracks are symptoms rather than cosmetic defects. Diagonal cracks extending from door or window corners, stair-step patterns, cracks wider than about 1/4 inch, and cracks that reopen after proper repair deserve further attention. Other warning signs include doors or windows that begin sticking, visibly sloping floors, separation between walls and ceilings, or several changes appearing together.
Differential settlement means parts of a building move by different amounts. Small seasonal movement and ordinary settling can create harmless hairline cracks, but appearance alone cannot confirm the cause. A painter or drywaller should not present a cosmetic patch as a structural diagnosis.
For a simple monitoring check, place a small piece of low-tack tape beside the crack and write the date and end position on the tape, without covering the crack itself. Photograph it from the same angle and recheck periodically. If the crack lengthens, widens, returns quickly after patching, or accompanies other movement, seek an assessment from an appropriately qualified building professional before cosmetic repair.
Do not widen a suspicious crack aggressively to “see how deep it goes.” Wall cavities can contain wiring, plumbing, and other services, and the visible crack may extend across more than the finish layer. Record the condition, avoid concealing it, and let the appropriate professional determine whether the issue is structural, moisture-related, or limited to the finish.
Ceiling Cracks and Holes Are a Different Story
Ceiling repairs are harder to complete cleanly because gravity works against the compound, dust falls through the room, access may require ladders or platforms, and the surface is exposed to strong raking light. A patch that feels smooth by hand can remain obvious once the ceiling is painted. Texture adds another layer of difficulty because the surrounding pattern must be matched without creating a raised halo.
A ceiling stain also raises the possibility of plumbing, roof, or condensation issues above. Correct the source and confirm that the material is dry before closing or coating the area. For overhead damage, blending, and texture work, review ceiling repair and popcorn ceiling removal.
What Professional Drywall Repair Actually Costs
Professional pricing is tiered because the size of the damaged area changes the repair method, number of visits, drying time, dust control, and finishing area. Gold Painter's published repair-calculator tiers are:
- Small damage up to 1 foot: $75 per spot.
- Medium damage from 1 to 4 feet: $200–$500 per spot.
- Large damage over 4 feet: $900–$1,500 per spot.
- Minimum visit fee: $300.
- Tax: 13% HST is added.
- Multiple-repair adjustment: a 22% volume discount applies when two or more medium or large repairs are booked in the same visit.
A small spot price does not remove the minimum visit fee. Medium and large ranges vary because one defect may need only wider patching while another needs board replacement, backing, repeated coats, or texture work. Use these published tiers as a planning tool, then confirm site conditions before scheduling. You can get an instant repair estimate with the site's calculator.
Finish scope also matters. A repair can be left sanded and ready for paint, spot-primed, or carried through repainting of the surrounding wall or ceiling. A technically sound patch may still show if old paint has faded or the sheen cannot be matched locally. Ask the estimate to state where the new coating will stop and whether texture matching is included. Tax and the minimum visit should be shown separately enough that the total can be understood.
DIY vs. Professional — Side-by-Side Comparison
| Factor | DIY repair | Professional repair |
|---|---|---|
| Cost | Materials and your time; mistakes may add rework | Tiered by damage size, access, method, and finish |
| Time | Flexible, but several drying and sanding stages can extend the job | Planned sequence with the tools and materials ready |
| Tools needed | Knife, compound, tape or patch, sanding tools, primer, paint, and dust protection | Broader repair, dust-control, access, texture, and finishing equipment as needed |
| Blend risk | Edges, texture, and sheen may remain visible | Wider feathering and coordinated priming and painting improve consistency |
| Best for | Small, dry, stable, isolated cosmetic defects | Medium or large damage, ceilings, texture, recurring cracks, and finish-critical areas |
How to Get an Accurate Estimate Before You Decide
Measure the affected width and height, count separate spots, note whether the damage is on a wall or ceiling, and photograph the area in even light with a common object for scale. Record any staining, softness, texture, previous repairs, or access difficulty. Do not conceal moisture or movement symptoms just to obtain a lower initial number; they determine the correct scope.
For a quick planning figure, use our repair calculator. A final estimate should confirm the repair category, preparation, texture or paint scope, materials, and whether surrounding surfaces need repainting.
Photos help with initial classification but cannot reveal softness, movement, hidden backing, or the full effect of side light. During an on-site visit, point out when the damage first appeared, whether it has changed, and any leak or repair history. If another trade has corrected the cause, keep that information available. A clear history reduces guesswork and helps separate cosmetic finishing from work that must happen first.
Serving Richmond Hill and the GTA
Gold Painter provides interior wall, drywall, and ceiling work while serving Richmond Hill, Markham, Thornhill, and the surrounding GTA, including Aurora, Newmarket, and nearby communities. Start by sharing the type, size, and location of the damage so the visit can be confirmed for your property.
Get a Clear Repair Plan
If the damage is small, dry, stable, and easy to reach, a careful DIY repair may be enough. When the area is larger, overhead, textured, recurring, stained, or difficult to blend, a professional assessment can prevent repeated patching. Use our repair calculator for a starting figure or request a free estimate for an on-site review.
Protect the surrounding area before any repair, even a small one. Compound and sanding dust travel farther than expected, and dust on a nearby wall can interfere with paint. Use controlled sanding, vacuum carefully, and inspect the patch with a portable light held almost parallel to the surface. Primer is not an optional cosmetic extra on bare compound; it helps the repaired area absorb finish paint more consistently.
If you are unsure, document rather than disturb. A clear photo with scale, a note about timing, and an honest description of moisture or movement gives the estimator a better starting point. Do not close a wall while a leak, electrical concern, or structural question remains unresolved.
A sound repair begins only after the cause, boundaries, and intended final finish are clear.
When in doubt, pause before adding compound.
That pause is especially useful when several symptoms appear together. A stain beside a crack, repeated nail pops, or a patch that keeps opening may point to a cause outside the visible surface. Note the pattern, keep the area dry, and arrange the appropriate inspection before choosing materials. Once the underlying issue is resolved, the finishing work can be planned around a stable surface and a clear final appearance.
Have a project in mind?
Let's see what your space needs.
Arrange a free on-site visit and we'll talk through your project.