
Professional Wallpaper Removal: What to Expect
You lift one loose corner of old wallpaper, pull gently, and pause when only the decorative face comes away. Under it may be backing paper, stubborn adhesive, unprimed drywall, old repairs, or another wallpaper layer. That uncertainty is why a quick DIY removal can expand into days of scraping and wall repair. Some rooms are manageable for a patient homeowner; others benefit from controlled removal and professional surface preparation. A professional job is not only about getting the paper off. It protects the wall facing, removes adhesive, repairs what the covering concealed, and creates a stable primed surface for the next finish.
Why DIY Wallpaper Removal Often Damages Drywall
Drywall has a paper face over a gypsum core. Wallpaper adhesive can bond to that face rather than sitting harmlessly on top. If the wall was properly sealed or primed before wallpaper installation, removal may be relatively clean. If paper was applied directly to unsealed drywall, the adhesive can grip the facing strongly enough that pulling the wallpaper tears the wall paper with it.
Dry scraping is a common mistake. A sharp scraper held too steeply can gouge the surface or slice into joint tape. Pulling a dry sheet quickly can delaminate large areas of paper facing. At the other extreme, over-soaking can soften drywall paper and compound, creating blisters, fuzzed fibres, or loose joints. Scoring tools can help solution reach some washable wallpapers, but excessive pressure punctures the wall underneath.
Multiple wallpaper layers, vinyl faces, painted-over paper, and old adhesive each respond differently. A method that works in one section may damage another. The safest process tests a small area, identifies the layers, controls moisture, and works in sections rather than attacking the whole room at once.
What torn drywall paper means for repair cost and time
Torn drywall paper cannot simply be covered with ordinary wall paint. Loose fibres need trimming and sealing so moisture in joint compound or latex paint does not create bubbles. Damaged areas are then filled or skim-coated, dried, sanded, inspected, and primed. Widespread tearing can turn a wallpaper-removal project into a broad wall-resurfacing project, adding material, sanding, dust control, drying stages, and repainting time.
How a Professional Wallpaper Removal Process Works
The method changes with wallpaper type, adhesive, wall material, and previous preparation. The sequence below keeps the project controlled from testing through primer.
1. Assessment and Wall Protection
The first step is to inspect seams, loose corners, wall condition, coating history, and likely wallpaper construction. A small test area helps determine whether the decorative face and backing release together, whether the surface is vinyl-coated, and how strongly the adhesive is bonded. Older plaster and unprimed drywall require different caution.
Electrical safety is considered around switches and receptacles because water or steam may be used. Openings to adjacent rooms are managed so stripped paper, damp adhesive, and sanding dust remain in the work area.
2. Stripping the Wallpaper and Adhesive
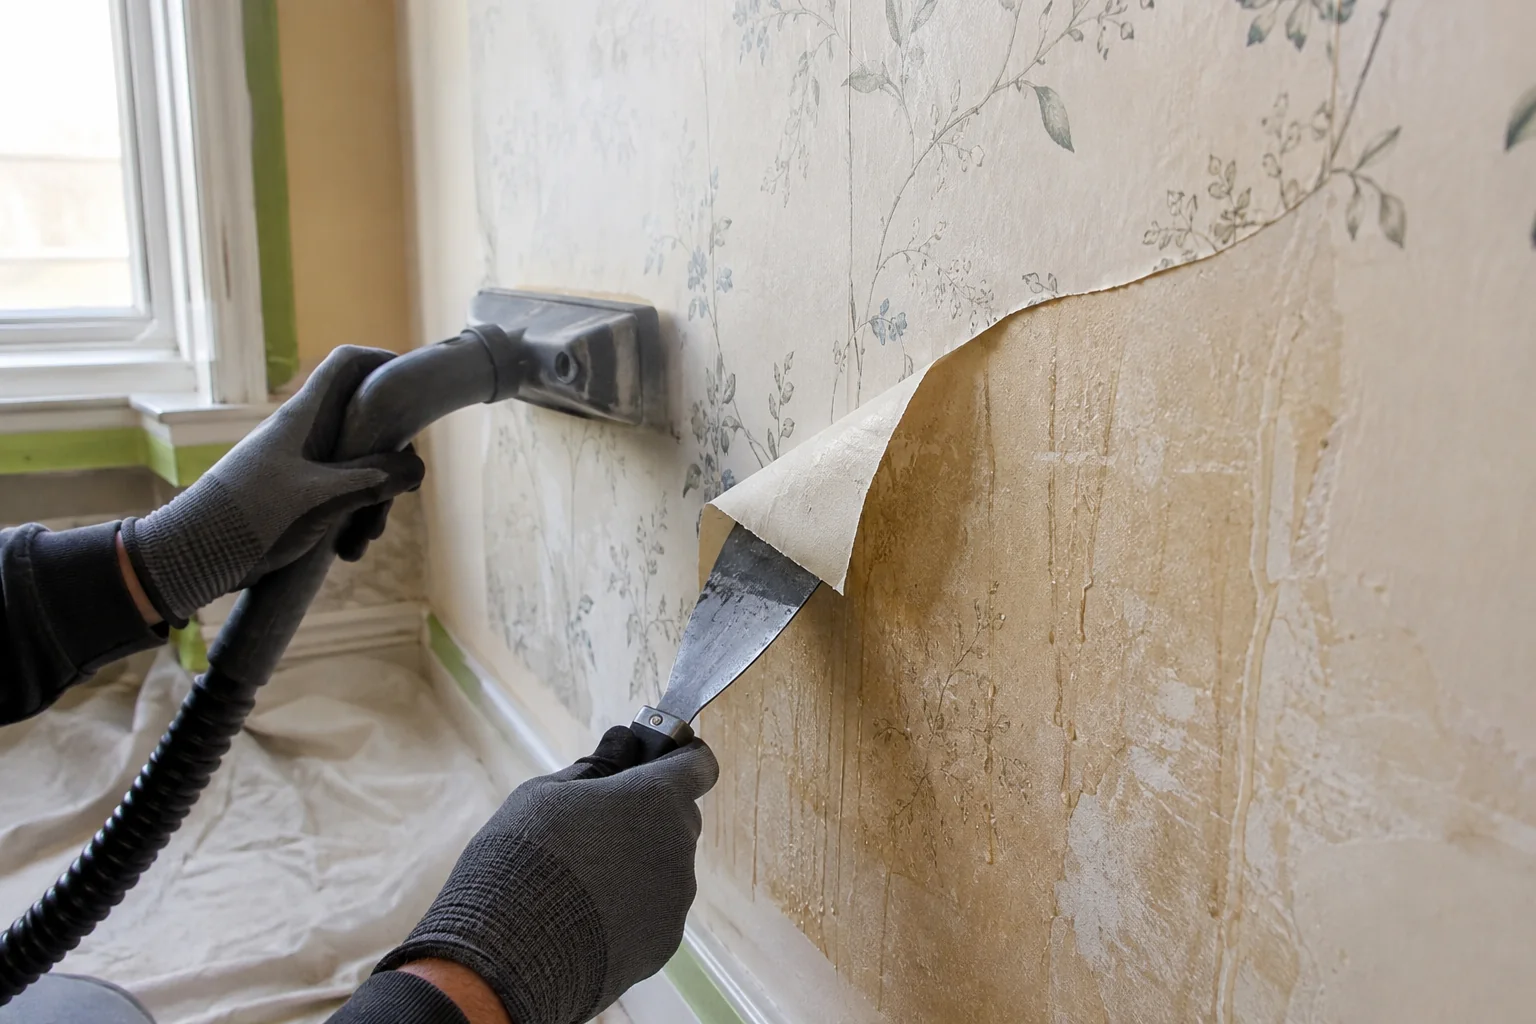
Some strippable wallpapers release in full sheets after an edge is lifted. Others separate into a decorative face and paper backing. Washable or vinyl-faced materials may need controlled scoring so moisture or removal solution can reach the adhesive. Steam can help soften resistant paste, but it is applied in sections to avoid saturating the substrate.
The tool stays at a shallow angle while the paper is drawn away steadily. When resistance increases, the area is softened again instead of being forced. This reduces gouges and large tears. Corners, seams, and areas around trim are handled slowly because overlapping layers and concentrated adhesive often occur there.
Removing the visible paper is not the end. Remaining adhesive can reactivate under water-based primer or paint, create shiny patches, interfere with bonding, or leave ridges. The wall is washed or treated with a method appropriate to the adhesive, then checked under side light and by touch. Repeated rinsing may be needed, but excess water is controlled to protect drywall and joints.
3. Repairing the Wall Surface
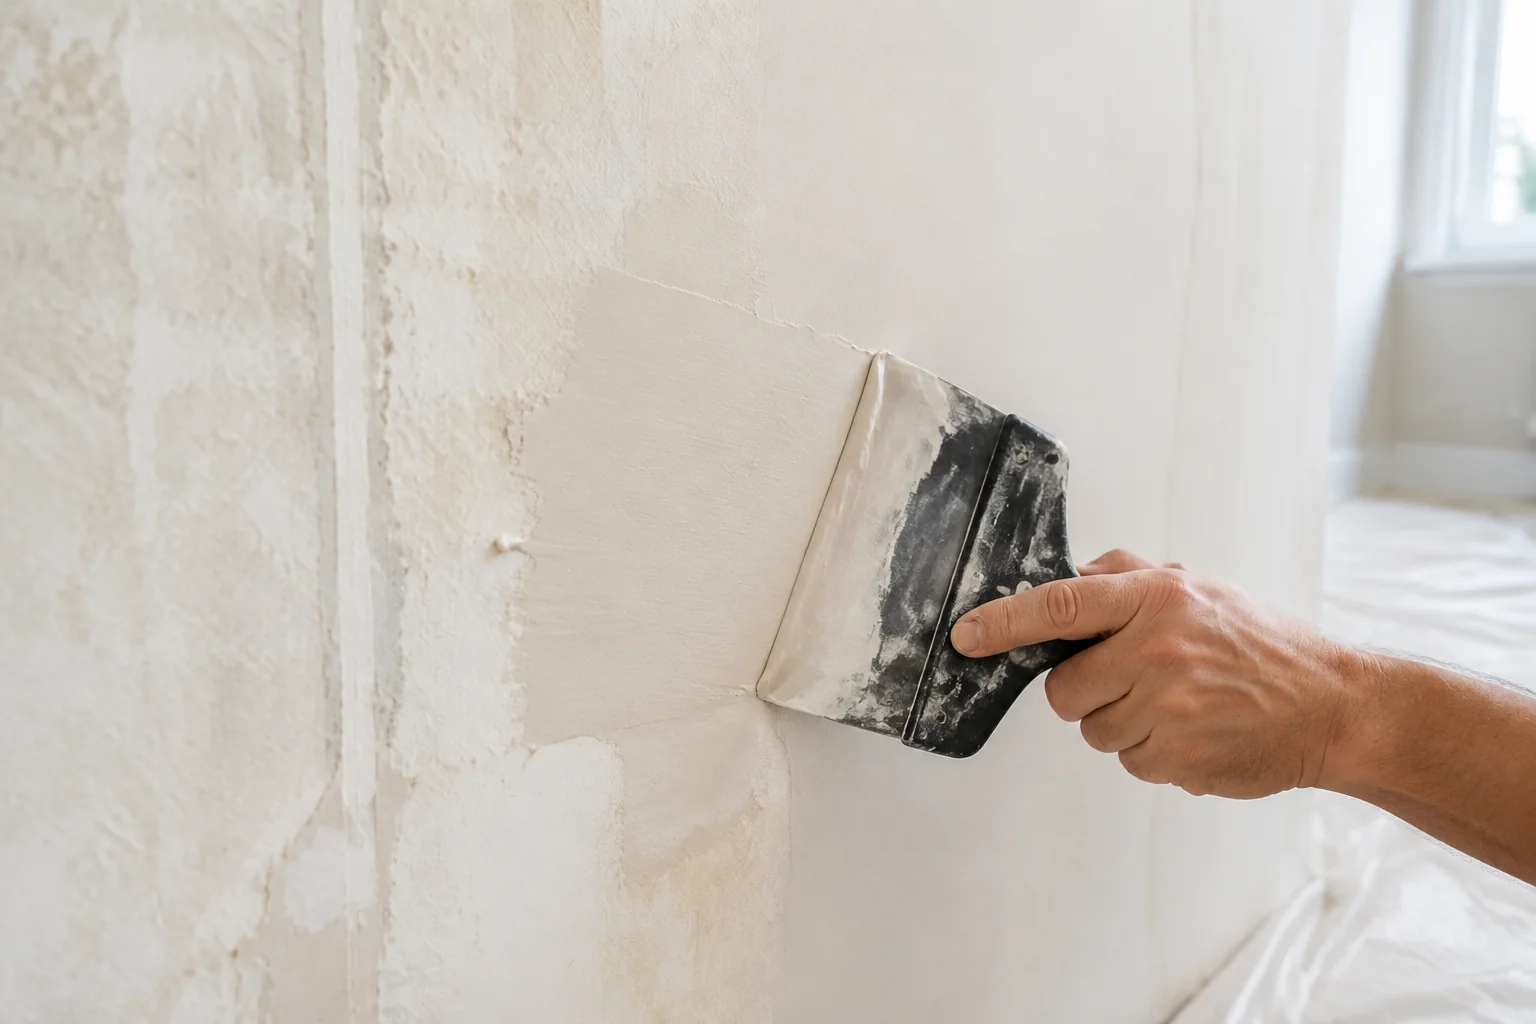
Once the wall is clean and dry, damage that was hidden becomes visible. Typical conditions include small gouges, torn paper, open seams, dents, old patch edges, nail holes, and uneven areas where adhesive remains. Loose paper is removed carefully. Torn facing is sealed before wet compound is applied so it does not blister.
Small defects are filled locally. Wider damage may need a skim coat extending beyond the obvious tear so the finished wall does not show a patch halo. Compound is applied in thin controlled layers, allowed to dry, and sanded smooth. Strong side light reveals edges and ridges that normal room light may hide until after painting.
Texture must also be considered. A smooth patch on a lightly textured wall can be just as visible as an unrepaired gouge. The repair method should match the surrounding surface or deliberately create a consistent new finish across the wall.
4. Priming for the Next Finish
Primer is essential after removal and repair. It seals joint compound and repaired paper, evens porosity, and provides a consistent base for paint. Without it, patched areas may absorb finish paint differently and appear dull or shiny. Residual adhesive can also cause bonding problems or stain-like patterns, so the selected primer must be appropriate for the actual surface condition.
The primed wall is inspected after drying. Primer often reveals small ridges, pinholes, and paper edges that were difficult to see on a patchwork surface. Those defects can be corrected and spot-primed before finish paint begins. If the next finish is new wallpaper rather than paint, the wall still needs a compatible, stable preparation system rather than bare compound.
How Wallpaper Removal Pairs With a Fresh Paint Job
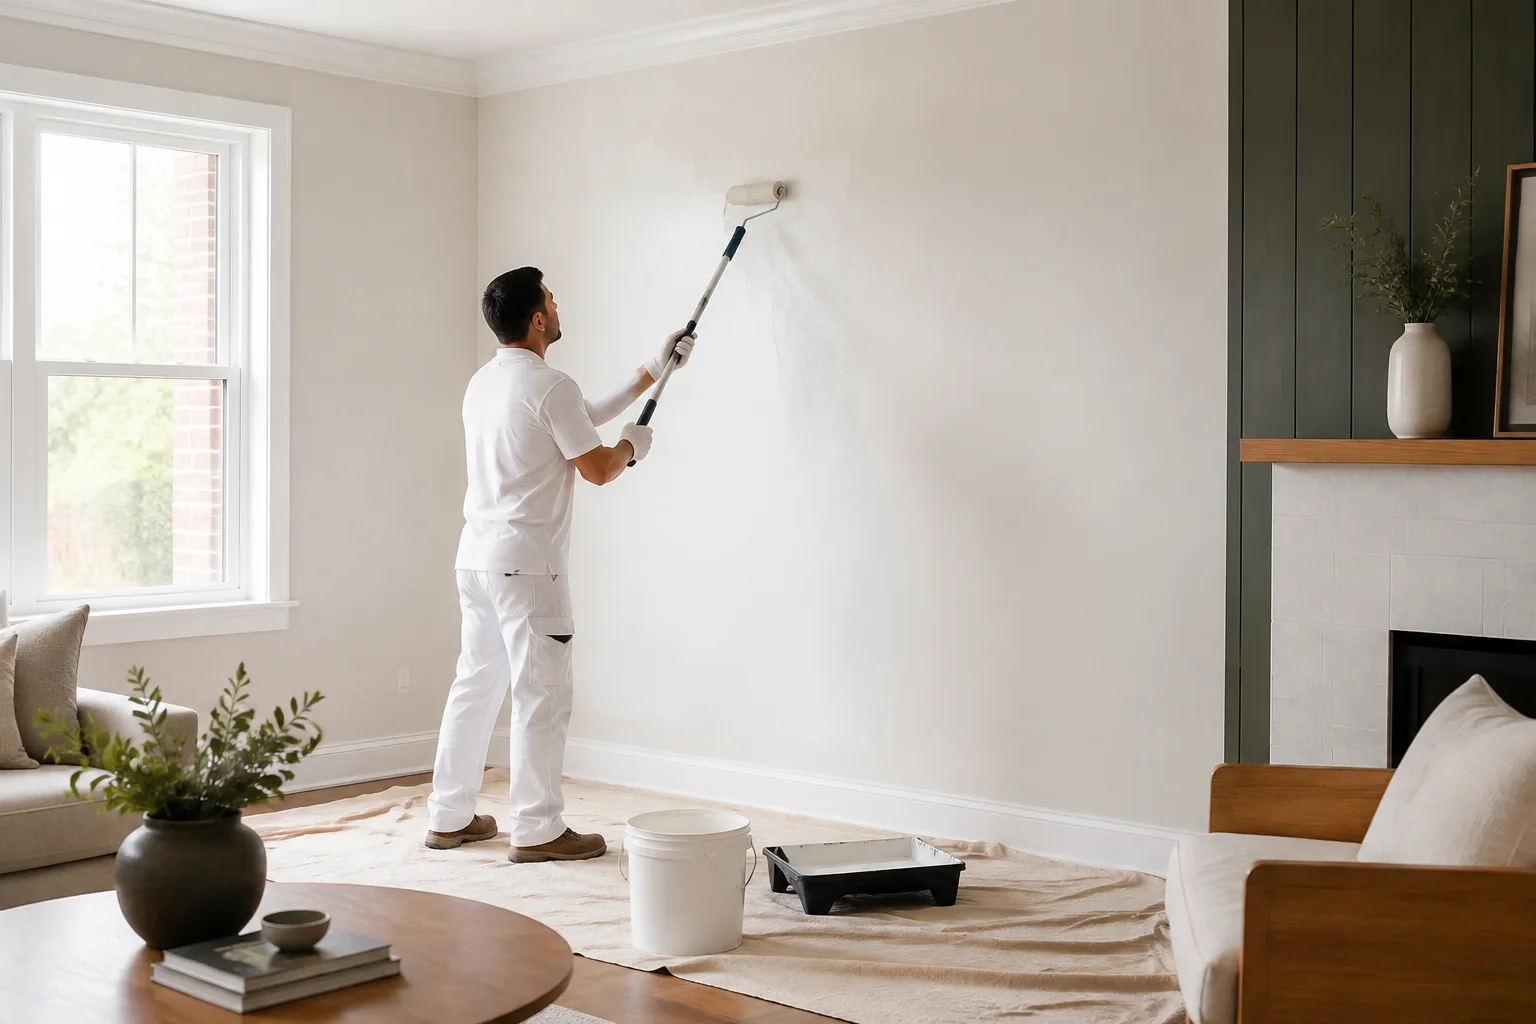
Once wallpaper and adhesive are removed, the wall is already open for the preparation that makes paint perform well. Combining removal with repainting avoids repeating the same preparation twice. It also allows the primer and finish system to be selected as one plan.
Colour decisions should wait until the full wall condition is understood. Dark adhesive staining, broad skim coats, or old repairs may change primer needs but do not limit the final colour once the substrate is prepared correctly. A complete scope can include removal, wall repair, primer, and our painting services for the finish coat.
Painting over wallpaper instead is rarely equivalent. Seams, bubbles, texture, and adhesive remain under the coating. Moisture from paint can loosen sections, and future removal becomes more difficult. A full strip and proper preparation produce a more predictable substrate.
When to Call a Professional vs. DIY It
A small room with one well-adhered, strippable wallpaper layer over properly primed, sound walls can be reasonable for DIY. Test first, protect the room, work slowly, use moisture sparingly, and plan time for adhesive removal, repair, drying, primer, and paint. Stop if the drywall face begins tearing broadly or the substrate softens.
Professional removal is more useful in older homes, large areas, stairwells, rooms with several wallpaper layers, painted or vinyl-coated paper, plaster in uncertain condition, or drywall that was never primed. It also makes sense when the walls must look smooth under strong light or when removal and repainting need to follow a clear schedule.
Gold Painter's full range of services includes wallpaper removal, surface repair, and preparation for the next finish.
FAQ
Does wallpaper removal always damage the wall?
No. Properly primed walls and strippable paper may release cleanly. Damage is more likely when adhesive is bonded directly to unsealed drywall, several layers are present, the paper has been painted, or tools and moisture are used aggressively. Even a clean removal usually needs washing, minor filling, sanding, and primer.
Can you paint right over removed wallpaper?
Not immediately. The adhesive must be removed or appropriately isolated, the wall must dry, torn paper and defects must be repaired, and the surface should be primed. Painting directly over residue can produce poor adhesion, uneven sheen, ridges, or reactivated paste.
How long does professional wallpaper removal take?
Timing depends on room size, wallpaper type, number of layers, adhesive, wall condition, access, and how much repair is revealed. The job often spans multiple stages because cleaned walls, compound, primer, and paint need drying time. A small easy-release room and a large unprimed multi-layer installation are not comparable.
Is steam always the best removal method?
No. Some papers strip dry, some respond to a controlled solution, and some benefit from steam. Excess steam can soften drywall facing or old plaster finishes. The method should follow a test section and be adjusted to the material rather than applied by default.
Start With a Test, Finish With a Paint-Ready Wall
Good wallpaper removal protects the surface while removing both paper and adhesive, then repairs and primes what remains. If your room has multiple layers, damaged drywall, or a large area to strip, request a free estimate. You can also see how we serve homeowners in Richmond Hill and nearby GTA communities.
Have a project in mind?
Let's see what your space needs.
Arrange a free on-site visit and we'll talk through your project.